|
Mr. Mustard Seed recently made a flower for the boys and me. It was an easy and fun project. Supplies needed: 2 square pieces of thicker wood Thinner wood squares (however many you want... I believe we went with 4-5) * the more layers = the more flowers you can press * A drill (drill holes in all the squares corners- make sure they line up!) 4 really big screws (to screw in the corners) 8 washers 4 wing nuts (to tighten the press and squish the flowers) You can find more detailed / step by step instructions on Pinterest. 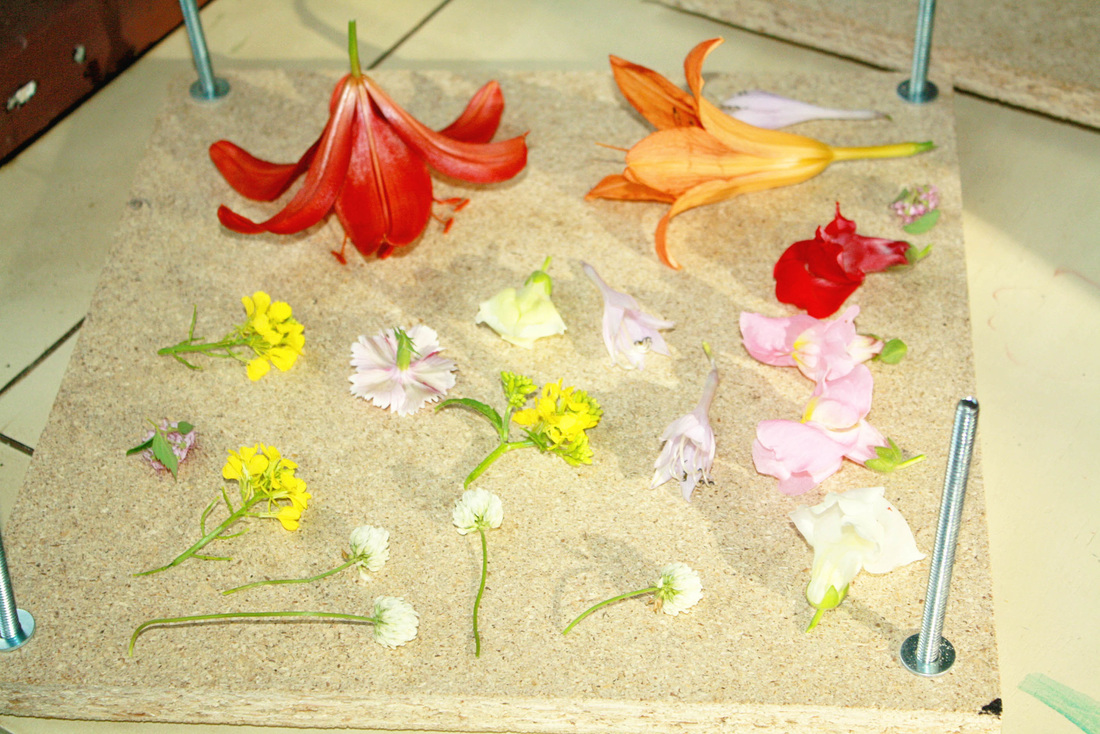 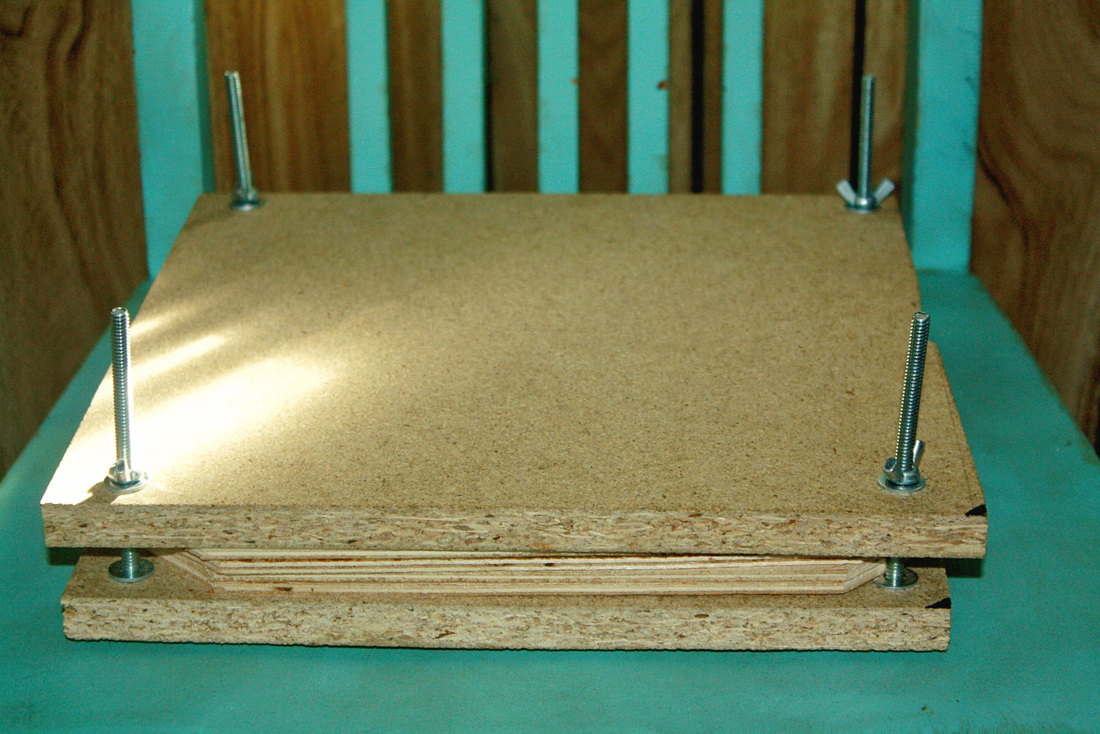 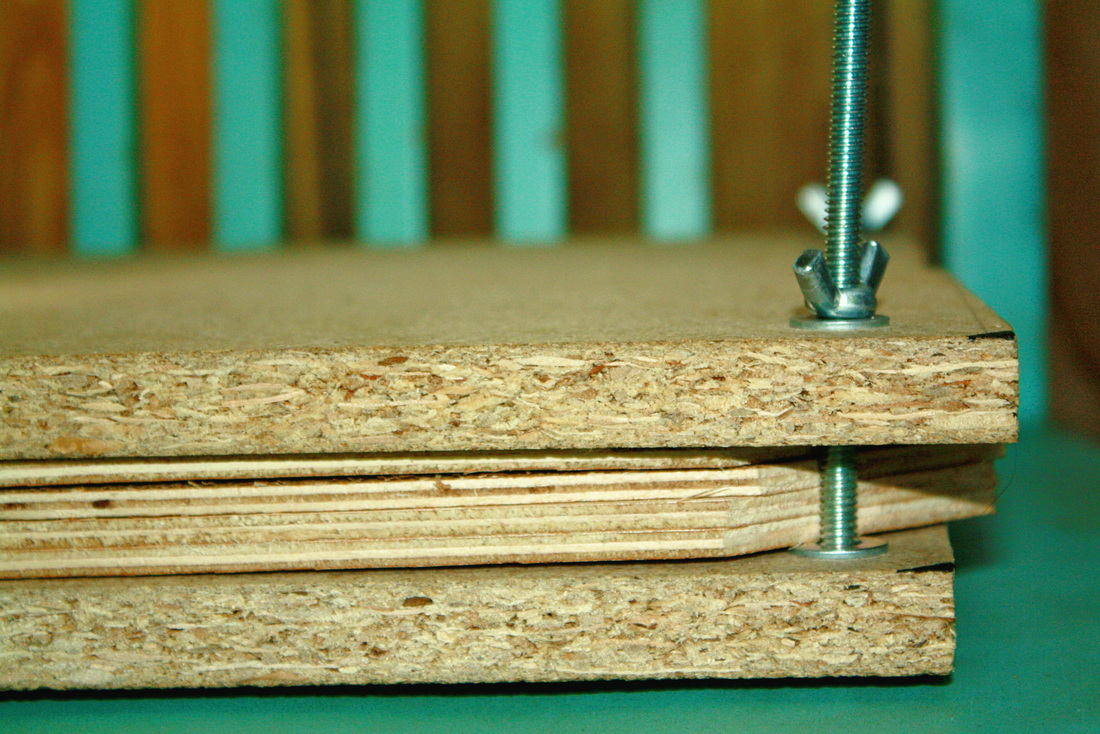  We've been having a lot of fun pressing flowers.
We pressed these flowers about a month ago. They should be ready to use any day now. Thanks for stopping by!
1 Comment
I've been a busy bee the past few weeks- planning and prepping our upcoming school year. Thanks to those of you who've been especially patient with me. (8 days until our school year will officially be underway!) I'm still busy planning, but wanted to take time to share a freebie with ya'll! I designed these fun "Speedy Sketch" Nature Walk journal pages, and I'd love to share them with you! There are four- one for each season. These are free to anyone who'd like to use them- homeschooling families, non-homeschooling families, adults, kids... The hope is to get you out in nature, exploring and enjoying God's beautiful creation. Each page has a spot to write the name of the observer (you!), date, temperature and time. There's also a spot to circle descriptive weather words. There are 9 boxes on each page- 8 of which are part of the "speedy sketch" challenge. As you observe nature, draw or doodle a quick sketch in each box. The middle box has a simple quote relative to the season. Take a peek! 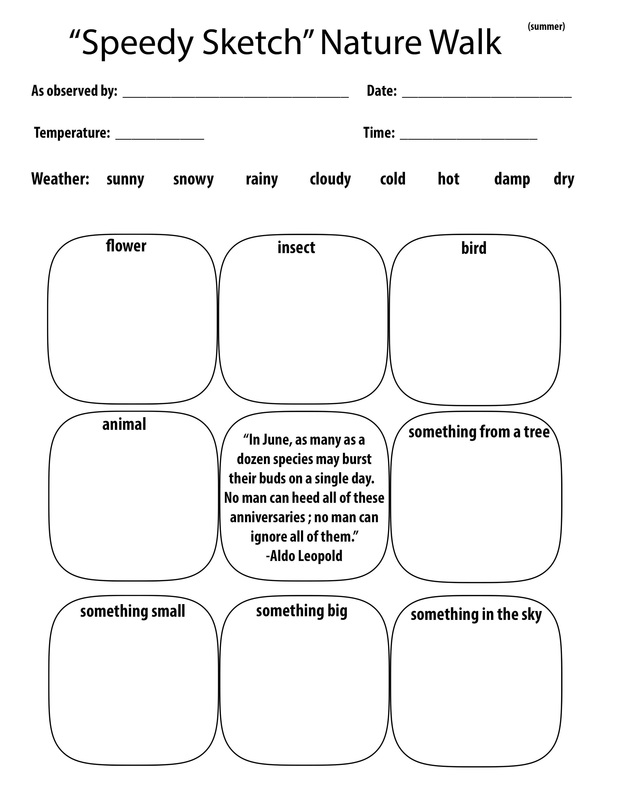 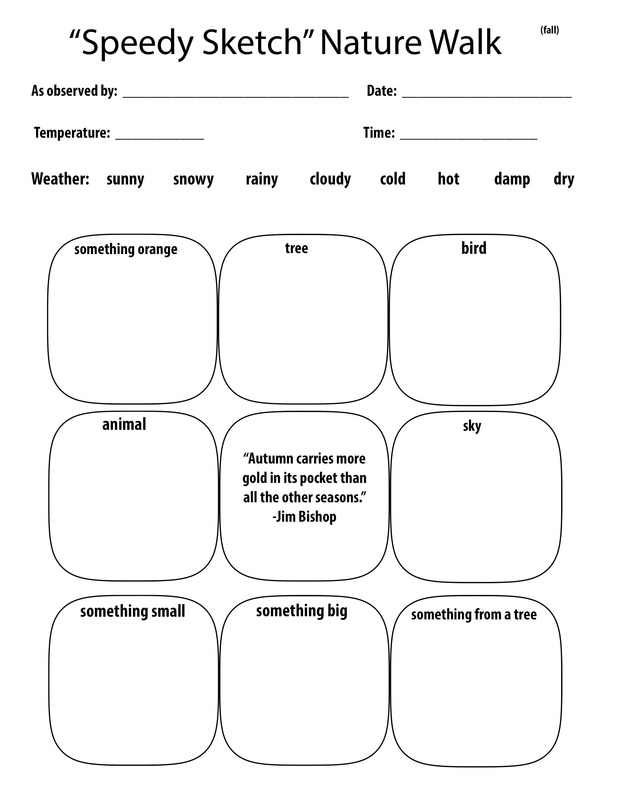 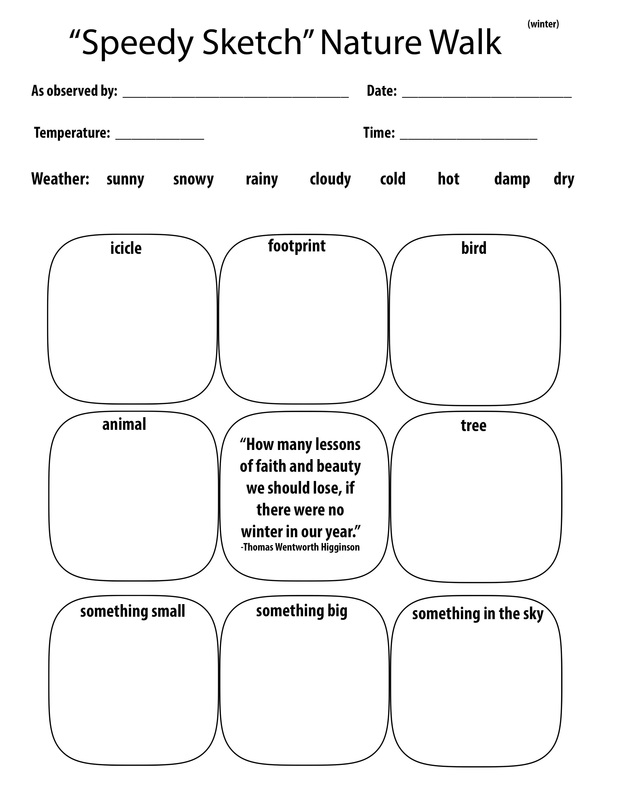 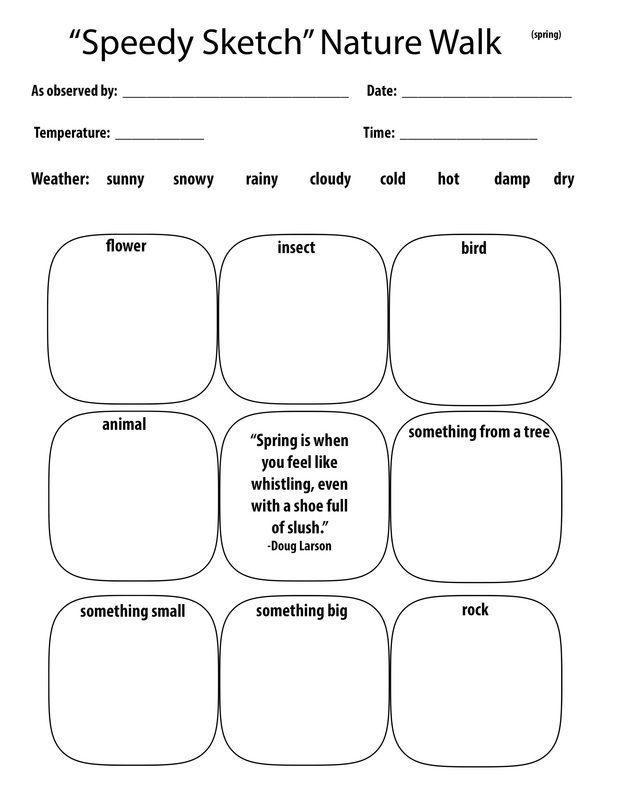 I've never done a downloadable freebie before, so this is all kind of trial and error for me. My hope is that you will be able to access the pages by clicking the files below:
I have one more thing I'd love to share with you- a "Beautiful to me..." nature journal page. Same idea as above, but with a little more space, and a little more freedom in your drawing. Get out there and explore God's beautiful creation - it's all around us! 
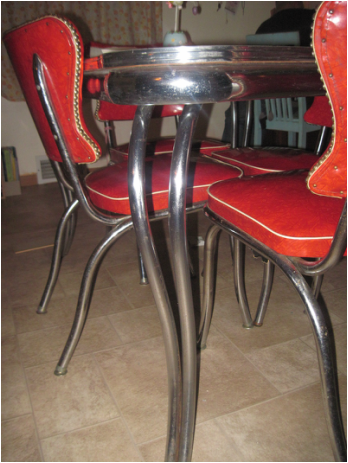
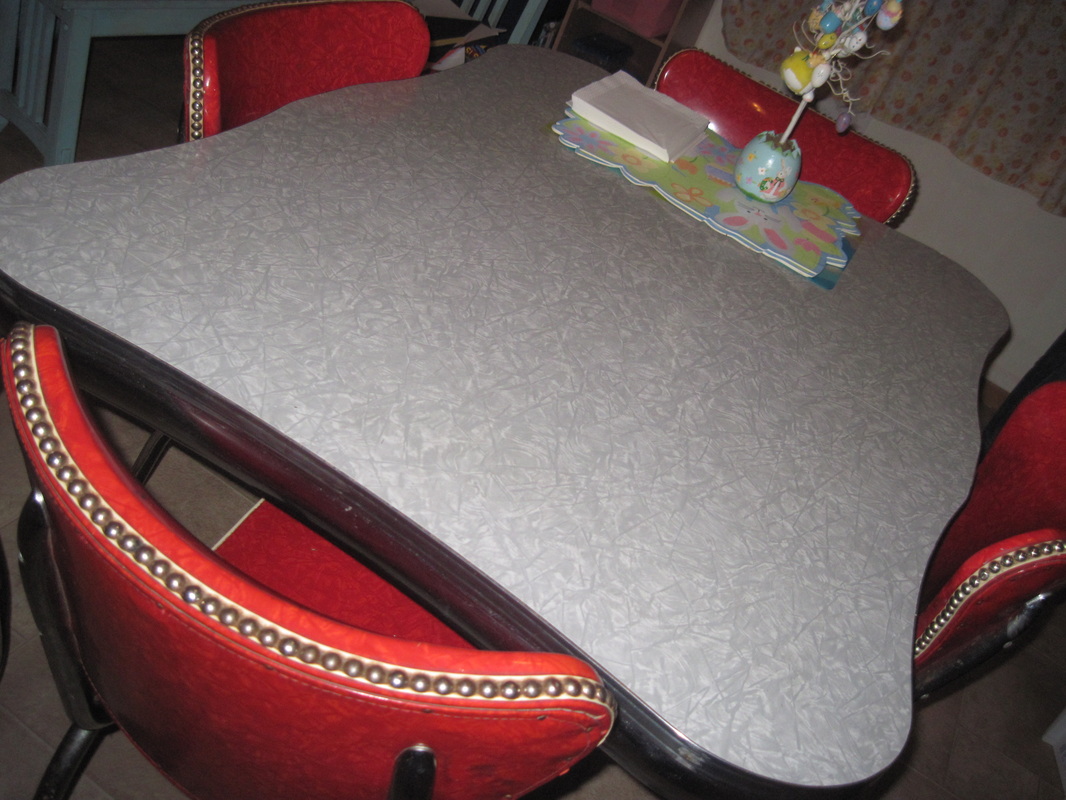
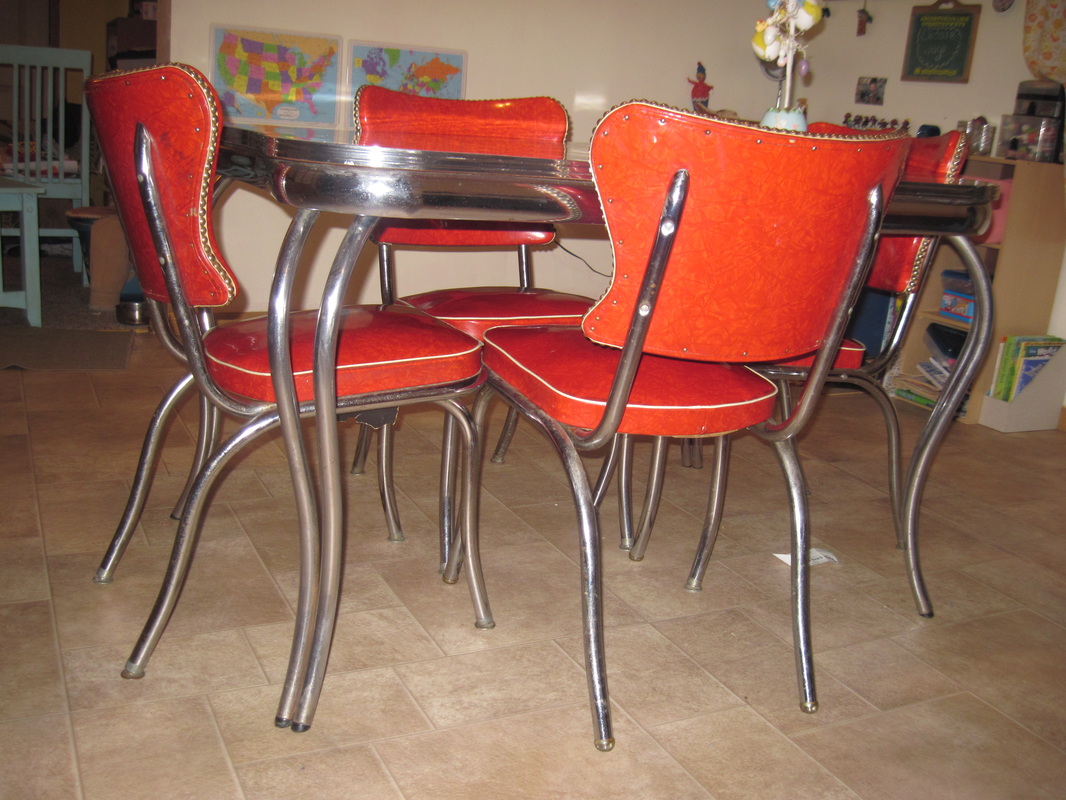
I'm so excited to share my new kitchen table with you guys! My mom and dad recently gave me my great great grandma's table. It's a 1950s formica chrome table. I've been wanting a chrome table for a long time, so I'm super excited about this. Yay! I spent some time cleaning it up tonight. I was amazed that most of the rusty spots came off with just water and tin foil. I plan to work on it more tomorrow, but for now, here's my newest treasure: 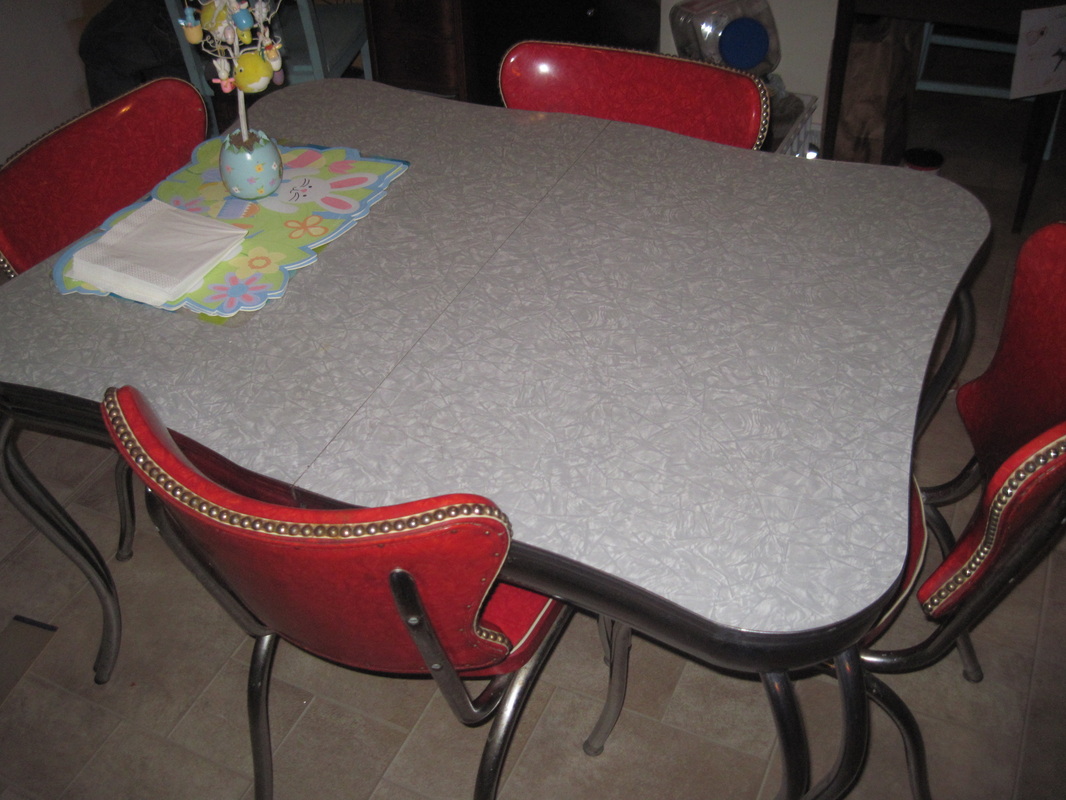
It's been awhile since I've shared a snailmail post! I'm happy to share some fun INCOMING mail with you today. I have the sweetest friends. 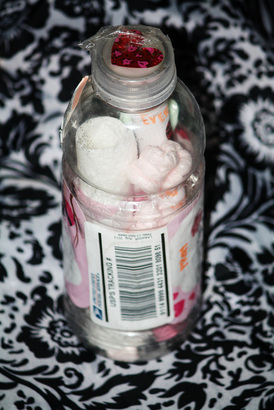
I received this sparkly little bottle from a dear friend in Iowa. 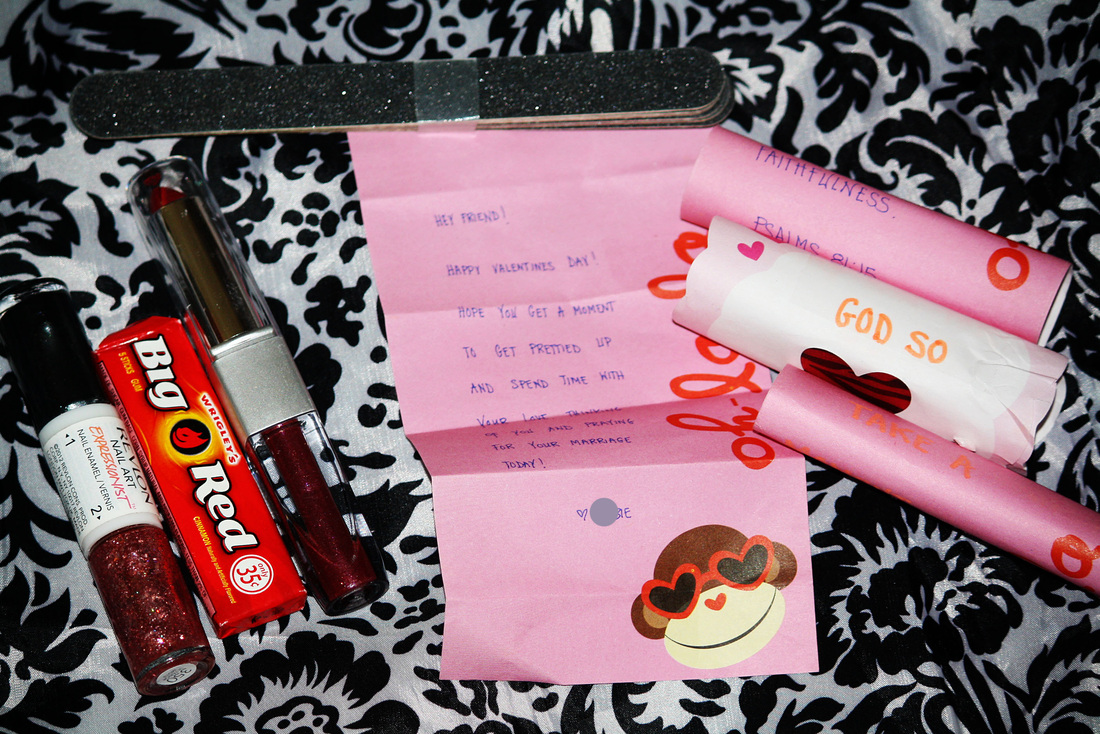
...check out all of these pretty treats! All kinds of pretties for me to use on Valentines Day, and a super sweet note, what will forever be kept in my treasure box. Thank you for your friendship, love and prayers, friend! You. are. loved. 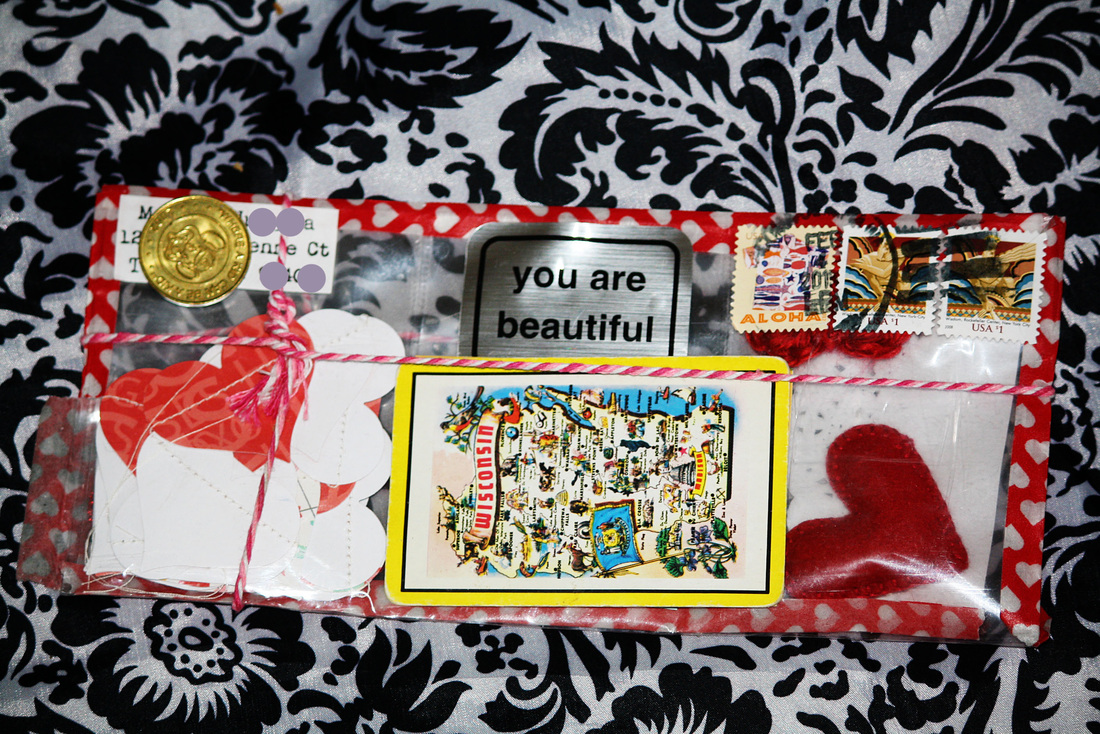
Pictures do not do this beautiful letter justice- it was amazing!! Totally see-through and filled with all kinds of Valentine decor. I think I skipped from my mailbox, all the way inside my house! 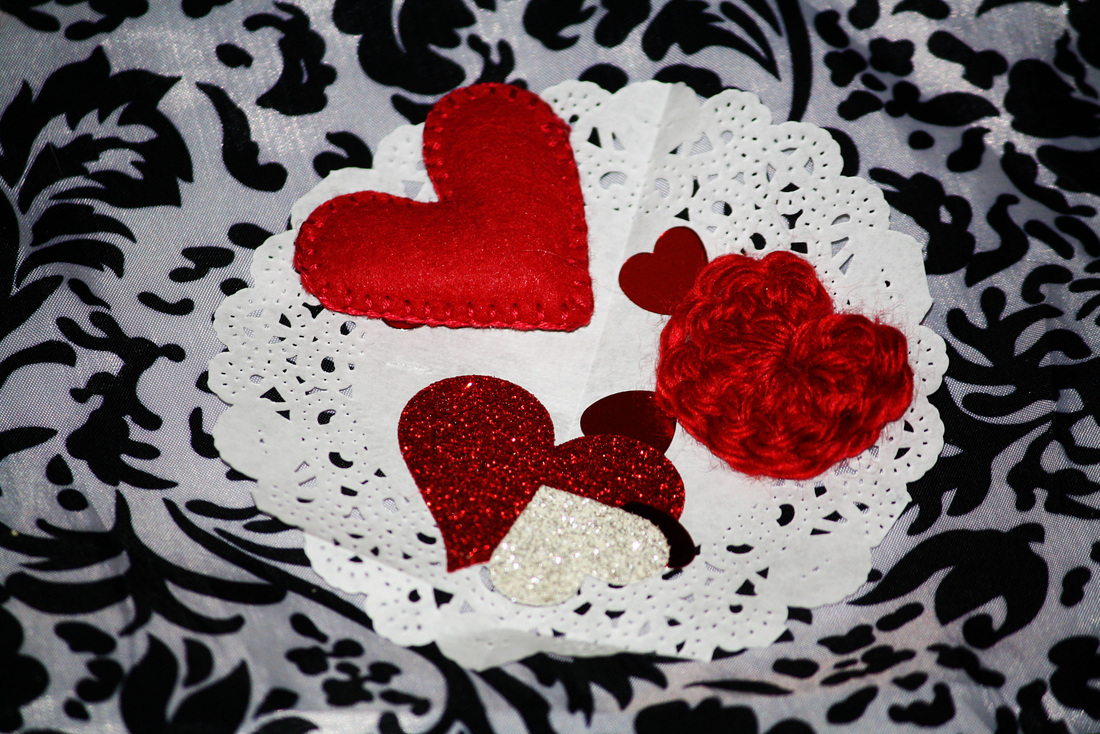
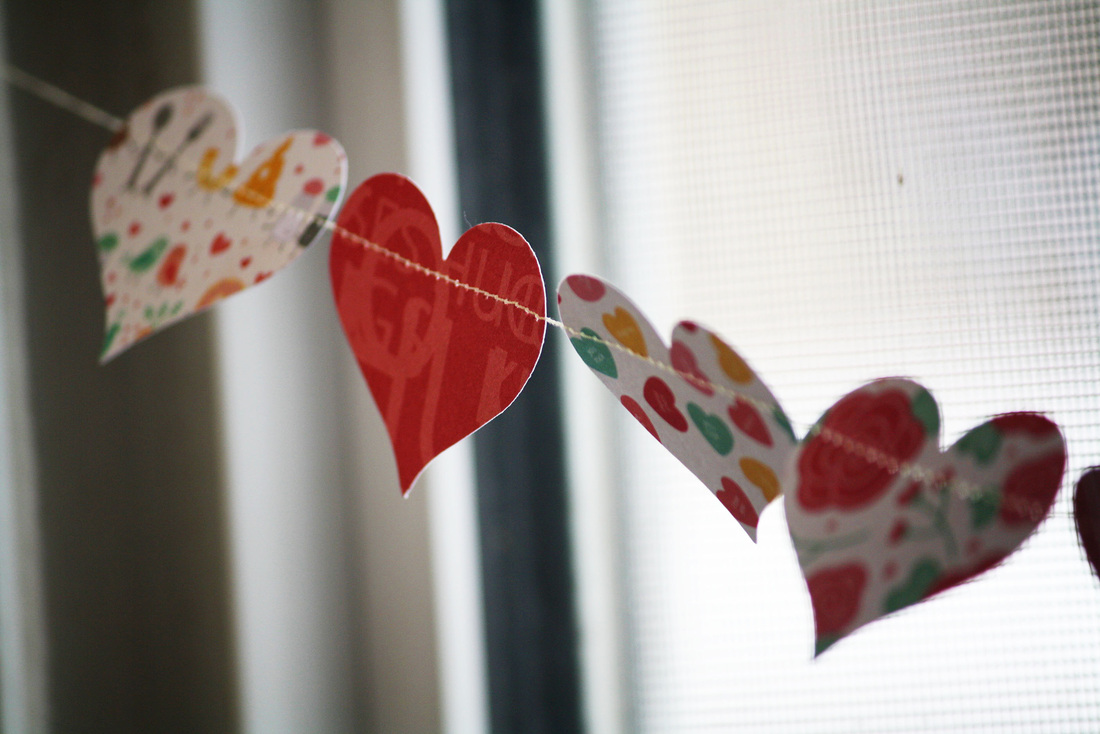
Hearts, hearts, hearts. Love, love, love! I hung the garland in my dining room window. It makes me happy whenever I see it. Thank you for brightening my day. You, my friend, are a treasure! 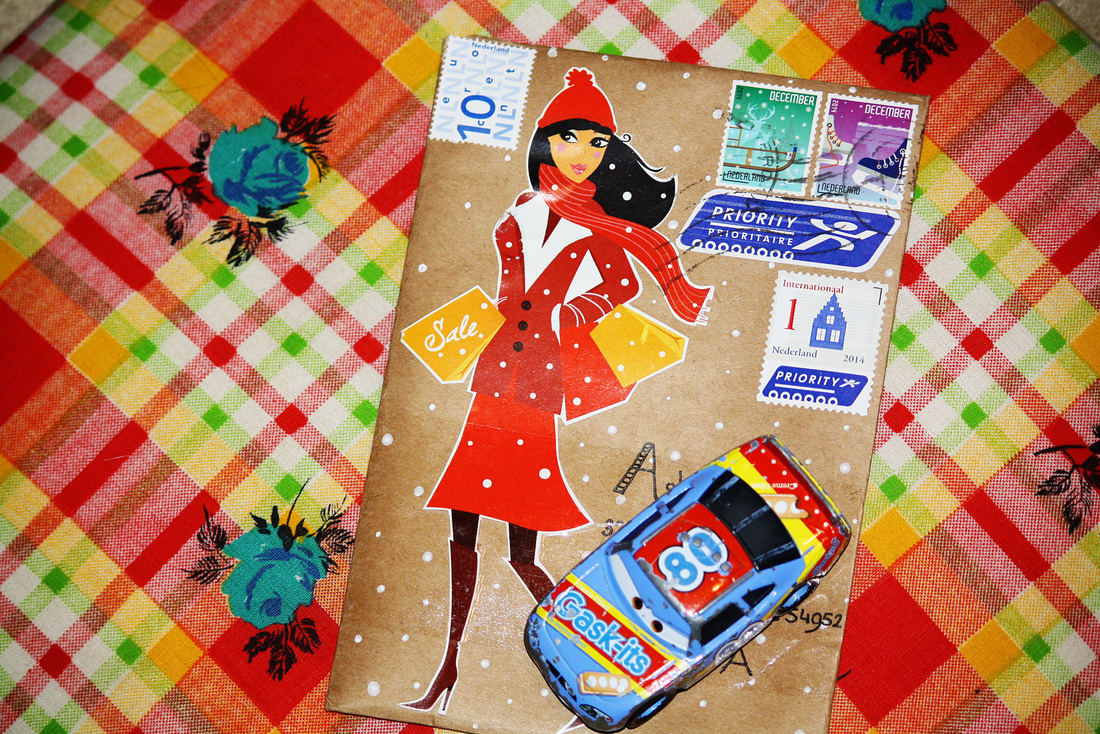
And how about this cutie piece of mail from Holland?! I love the paper bag envelope, and white snowflakes. Everything is so perfect. 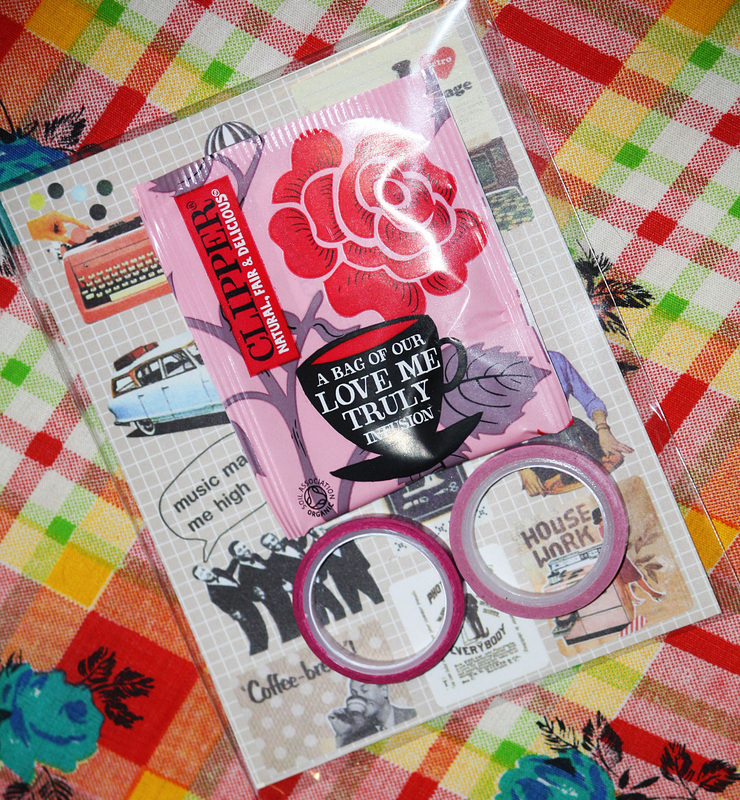
And the treats inside?! Fabulous! I can't wait to try the tea. It was great to read your news, sweet friend! You are so thoughtful and kind. "We'll be friends forever, won't we, Pooh" asked Piglet. "Even longer," said Pooh. 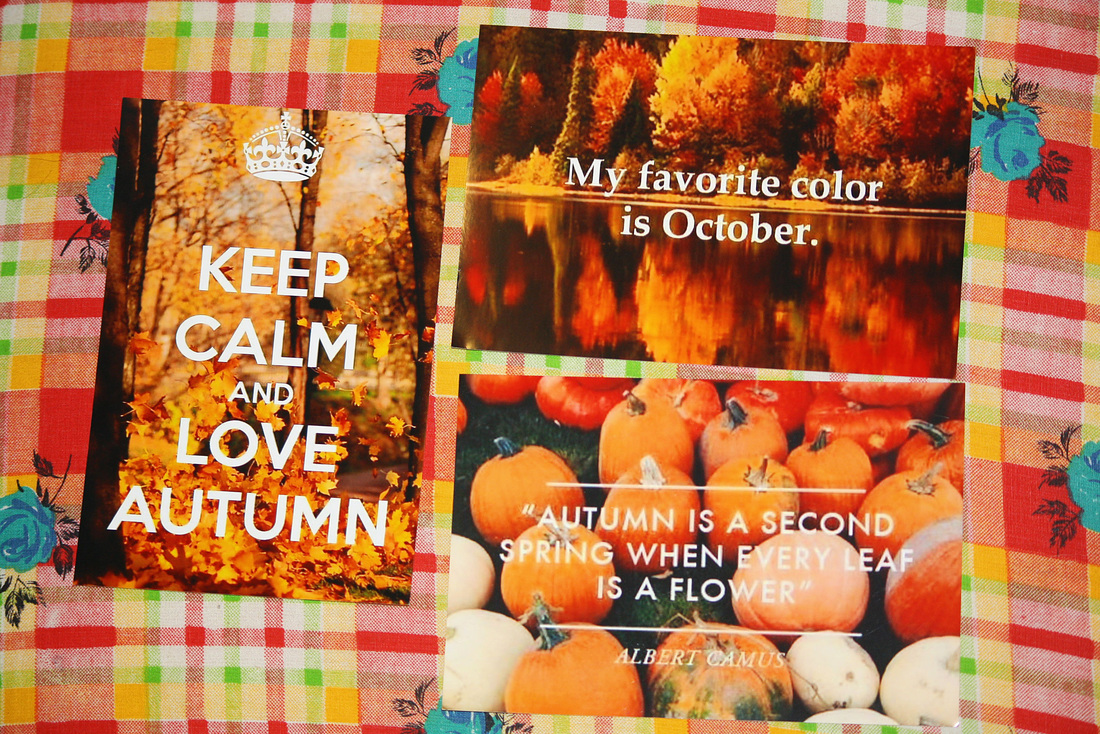
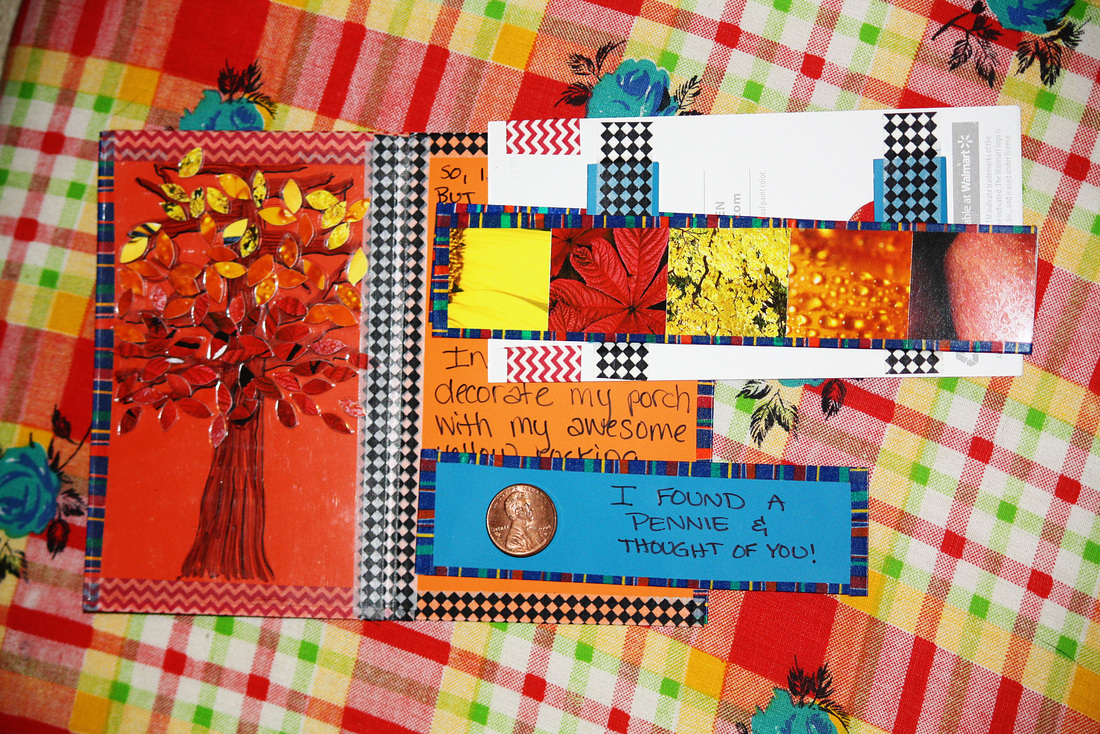
Some treats from a new friend in North Dakota. Top photo: I love these pictures- super inspiring! I can't wait to make some of my own this Spring. Bottom photo: It's hard to tell in this picture, but the leaves on the tree actually lift up. So awesomesauce!!! And I love how my friend sent me a penny. Whenever I find pennies on the ground, I pick them up, so it was really sweet. Friends, you're treasures. And I love you for that. I hope to have lots of letter writing time this weekend, so my next post will show off some of my outgoing mail. Stay tuned! Until then, I have one more special piece of mail to share with you: 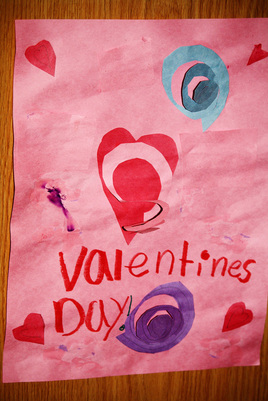
A Valentine's Day card from my two nieces!
They each wrote me a letter, too. So cute. I have their letters hanging on my cabinet, and will one day be in my treasure box. I can't wait to write them back. I also received a really encouraging card from my friend, Casey. Thank you, friend! It's in my treasure box. I want to encourage you to take a few minutes to write a letter this week. Even if you just write a few sentences- surprise someone, by telling them how much they mean to you. You won't regret it, and it will surely make their day. 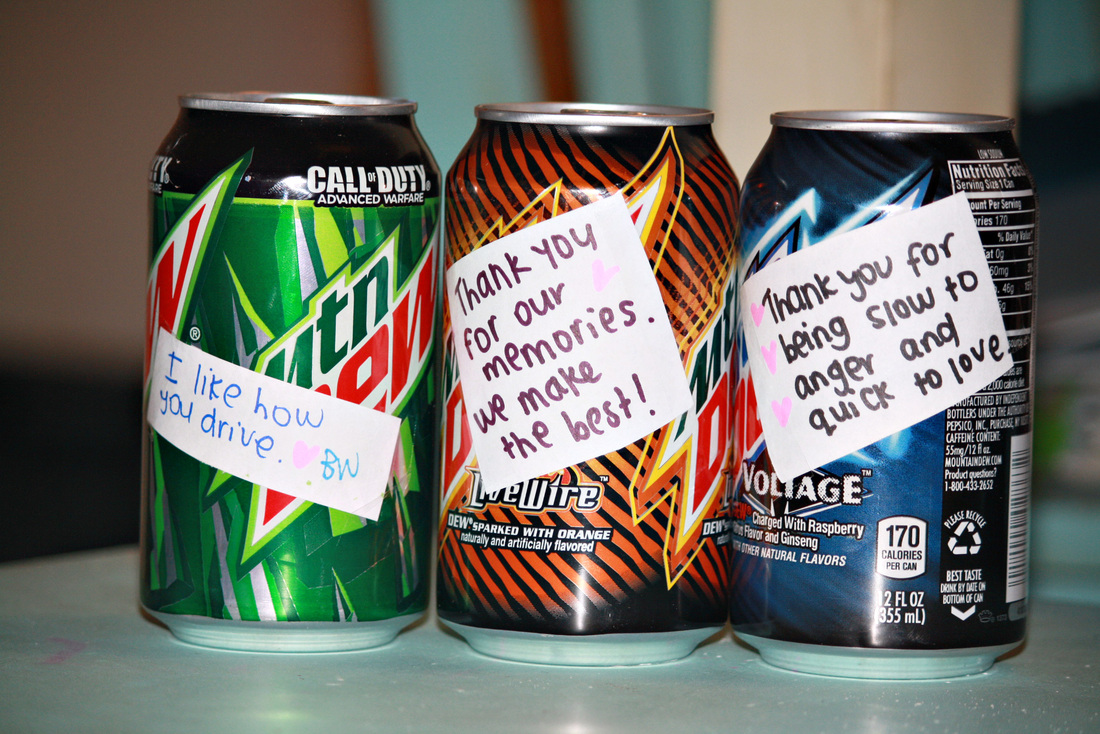 For Christmas, we decided to surprise Mr. Mustard Seed with his favorite drink.
Now, hiding numerous cans of Mt. Dew in our little casa is not an easy task. And, a few days before Christmas, Mr. Mustard Seed uncovered the secret stash. Thankfully, I hadn't added our secret messages yet! I wrote a little something special on each can- special memories, qualities I love about him, silliness only our family would understand, notes from the boys, and even notes from the pets. If you're looking for a simple and fun way to tell someone just how much you love them, you might want to try this! It was really fun! Mr. Mustard Seed enjoyed the Mountain Dew, and we all enjoyed hearing him read the messages whenever he opened a can. (Notice the past tense of the last sentence- a Dew is never safe around Mr. Mustard Seed!) ;) My oldest niece is celebrating her 8th birthday, and guess what she loves... DINOSAURS! *rawr* I had a lot of fun making some special gifts for her. The gift I'm probably most excited about is this funky necklace holder, and all the necklaces that go with it: 
Here's a close up of one of the necklaces: 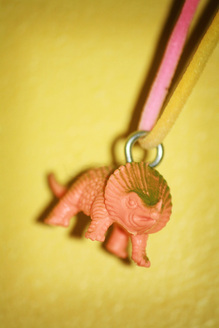
How to make a Mini Dinosaur Necklace:This was a really fun project! Supplies needed: Mini 'saurs, necklace, spray paint (optional) and these little screw things (I threw the packaging away, and can't remember what they're called...boo.) You can find them in the hardware section at Walmart. They have a screw-like bottom and a circular top. The circular top closes completely. If you're down with the spray paint, start by painting your dinosaur. (I painted some of mine, not all of them. The one pictured is not painted) After your dinosaur dries, just screw the circular screw thing into the top. This part is a little tricky, and requires patience and determination. Don't give up! Heh. As soon as it twists in a bit, it's easy peasy! Last step- slip it on the necklace, and you're finished! Cool beans, right? How to make a Dinosaur Necklace Holder:This is also really easy and really fun! You'll need a normal (large) size dinosaur, spray paint (optional), a saw, and something to use for the background. Depending on what you use for your background, you may need push-pin sawtooth mounts, in order to hang it on the wall. (Woo, I didn't throw that packaging away!) The mounts can be found in the hardware section at Walmart. Oh, and you'll need a nail for hanging purposes! Start by spray painting your dinosaur and background. After they dry, use a saw to cut your dinosaur in half. (We used an electric saw) Hot glue it to the background, and you've got a fancy new necklace holder! You could probably start by sawing your dinosaur first, and spray painting second. (After I painted mine, I thought- "oh no!" I should have sawed first!" But, I'm happy to report that painting first and sawing second didn't create any problemos!) My thoughts on spray paint... I tried Krylon and Rustoleum with these projects. They're pretty much the same price. (about a ten cent difference) Back when I first started spray painting projects, I read a tutorial on a blog and they recommended Krylon... Up until now, I've been using Krylon, based on that tutorial. This was my first time using Rustoleum and Krylon brands. I totally prefer Rustoleum! I like the way it sprays, and think it covers better, too. A note on neon spray paint- based on my experience: it's really watery and doesn't cover very well. I had a hard time getting it to look good because it was so wet and bubbly. A note on metallic spray paint- based on my experience: It's AWESOME!!!! Seriously. It dried really fast, and it covered really fast and really well, too. Not to mention, I felt like a super hero, turning things to gold! Next surprise, please! 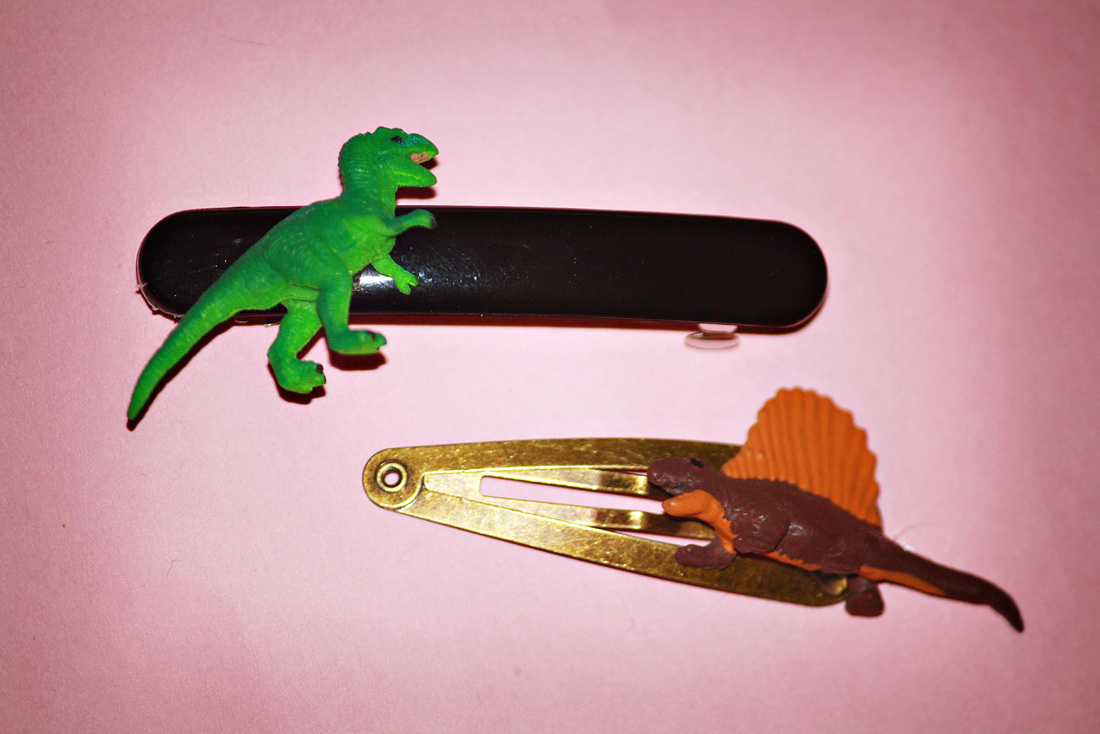
Some cute little dinosaur hair clips! (I used mini *MINI* dinosaurs for these) What was that you said? You'd like to see even more surprises? Alrighty, then! 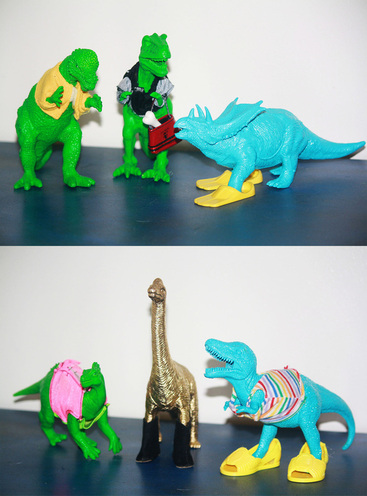
Here are a few of the Party 'Saurs I made! Good ol plastic dinosaurs, spray painted and dressed up. Someone's turning 8, right?! It's a good thing, because these dinosaurs are ready to party! 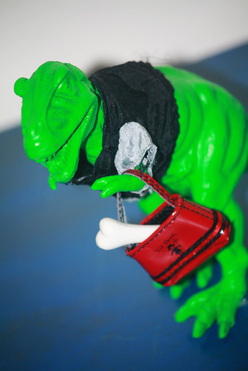
All set with a bone in the purse! I have one other purse (not pictured) that holds baby dinosaurs. And, because you love surprises sooo much, here's one last surprise: 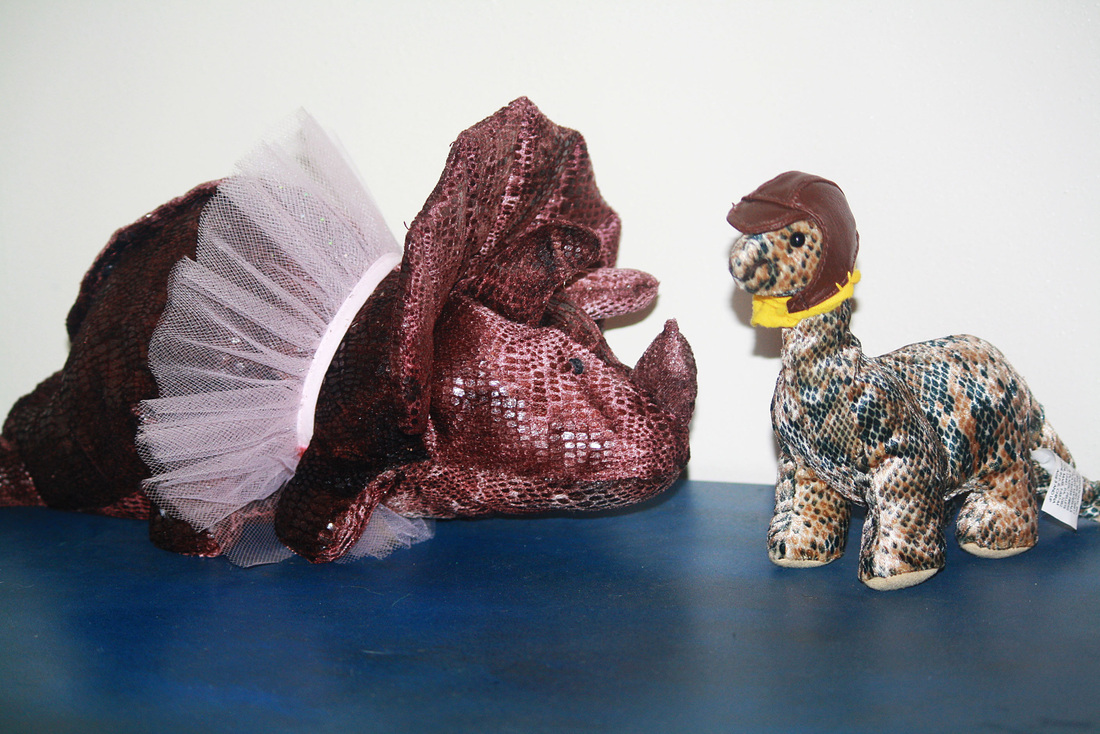
A few stuffed + dressed up dinosaurs.
The possibilities are pretty endless with these projects. You can paint any type of plastic critter- zoo animals, forest animals, farm animals... Whatcha waiting for?! Get busy, create some art, and surprise someone you love! In the previous post, I shared a photo challenge with you. Last week, I had fun transforming some of my images into postcards. It was an easy and fun project. Materials needed: *White poster board / card stock (not the shiny kind) *A photo *Good 'ol Elmer's glue *Washi tape That's all, folks! Trace your photo onto the card stock. Cut the traced area out. Glue the edges of your photo. Stick it to the card stock. Trim around the edges if needed. Place a piece of washi tape in the middle of the card stock. (This separates the address part from the message part, and will add a little extra "fun!" to it, too.) Easy, peasy, right? I used to make postcards like this for my great grandma all the time. It's a fun little project. Here's the backside of my postcard. 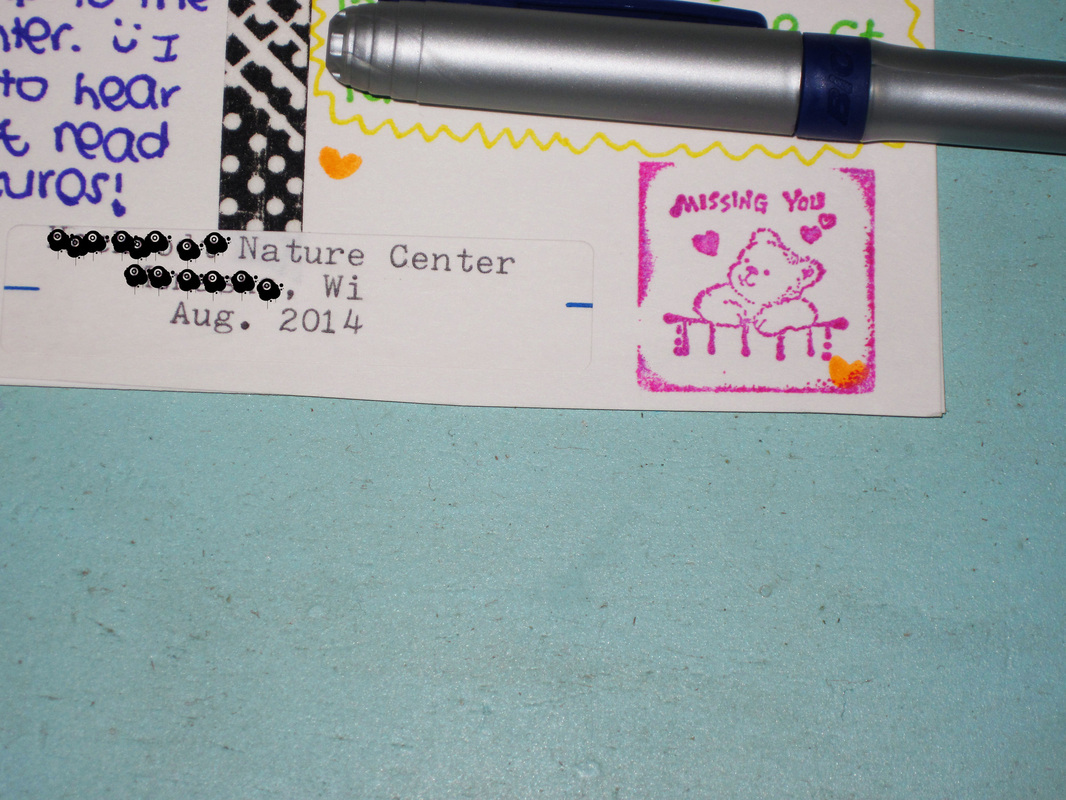
My message is written with the purple marker. The address is underneath my Sharpie. I used my typerwriter and a label to write details about the postcard. (Excuse the black dots- I didn't want to share our exact location online) I found a cute, "new to me" stamp at a thrift store, and wanted to use it, so I stamped it on, too. It added some extra fun color. The front of the postcard looked like this: 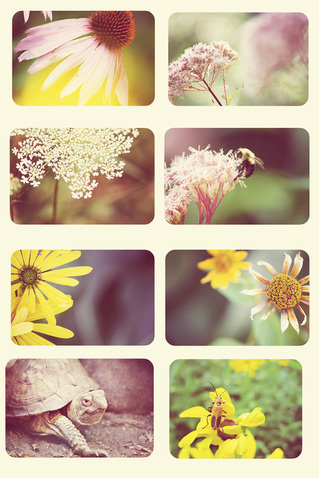
Alrighty, are you ready for some REALLY exciting news?! Ya'll (should) know that I have a favorite thrift store. It's pretty much impossible not to find a treasure there. And, best of all- you "pay by weight." So, if you find something that's really light.... Like, maybe... this: 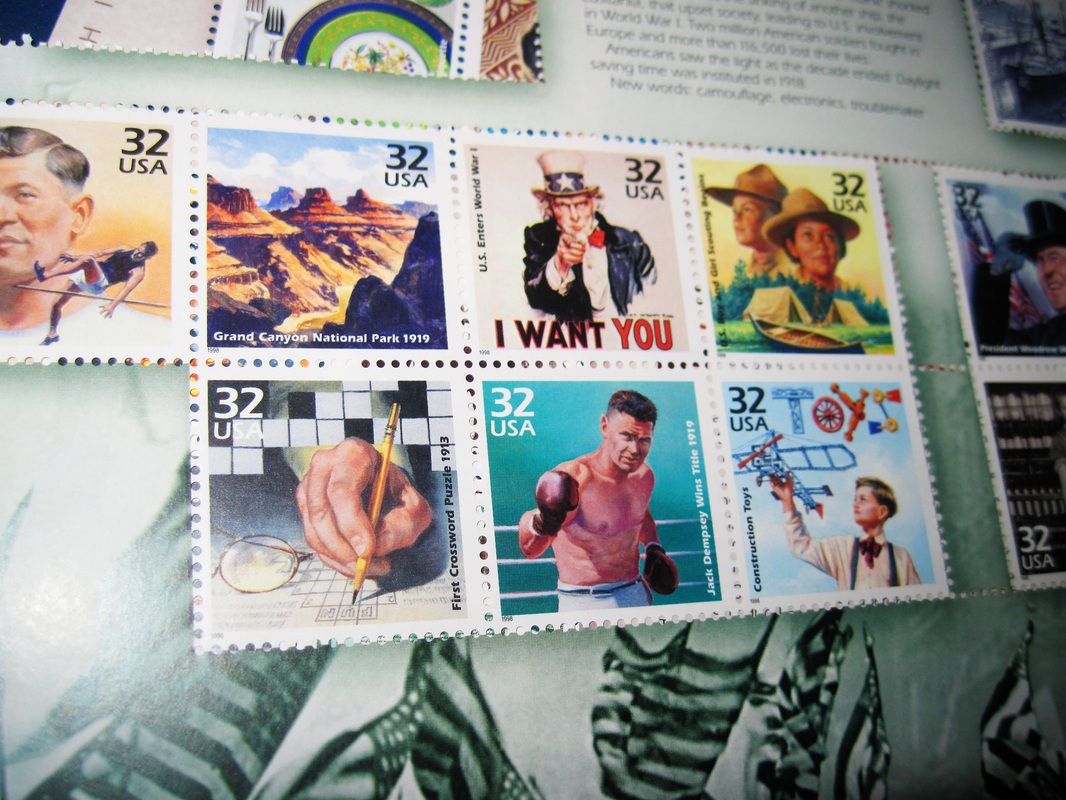
It really doesn't cost much at all.
Well, Mr. Mustard Seed found a bunch of these postage stamps for me. All unused and all awesome! And, every sheet had different images on it, too! Altogether, he found $20 worth of postage stamps, and paid about 5 cents for them. Seriously. Now that's what you call a thrift store SCORE! I recently rented a book called: Creative Photography: 52 Fun Exercises for Developing Self-Expressionwith Your Camera," by Steve and Carla Sonheim. Carla Sonheim is one of my favorite artsy authors. Unfortunately, I didn't take a picture of the book cover, but I'm sure you can find it at your local library or on Amazon. So far I've only completed one of the challenges- challenge #6- "Walk With a Blind Camera." This was such a fun project- even Mr. Mustard Seed joined in! We each took a camera for a walk around our neighborhood. (Our boys and their friends came along, too) Mr. Mustard Seed brought a timer along, and set it for 5 minutes. Every 5 minutes, we had to take a photo, BUT... we couldn't look through our photo lens, and couldn't "plan" our shots either. The timer beeped, we grabbed our camera and snapped a shot. I used photoshop to organize and "collage" our shots a bit. I plan on developing them and will probably turn some of them into postcards. Alrighty, friends! Put on your walking shoes! You're about to come on a walk with us! Here are my shots: 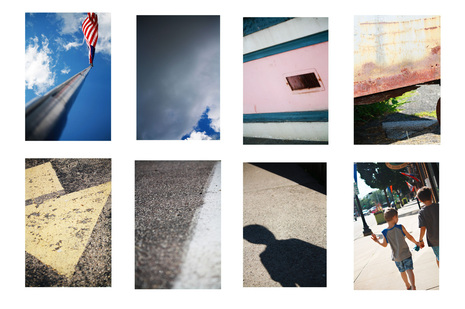

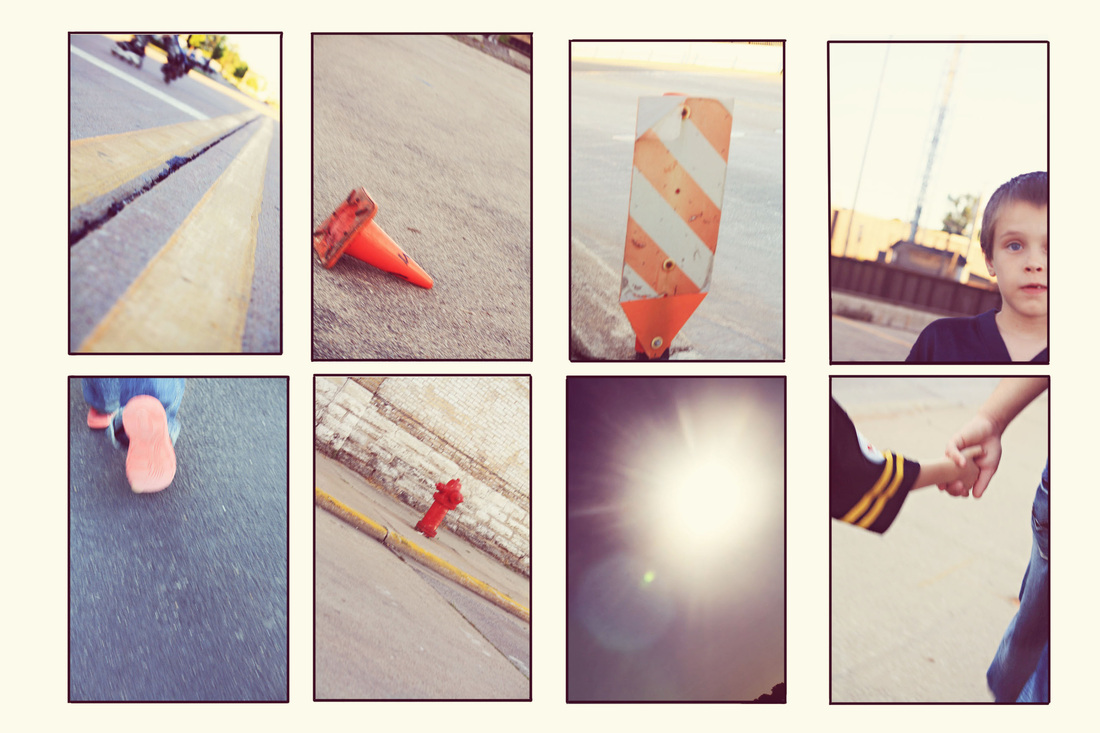
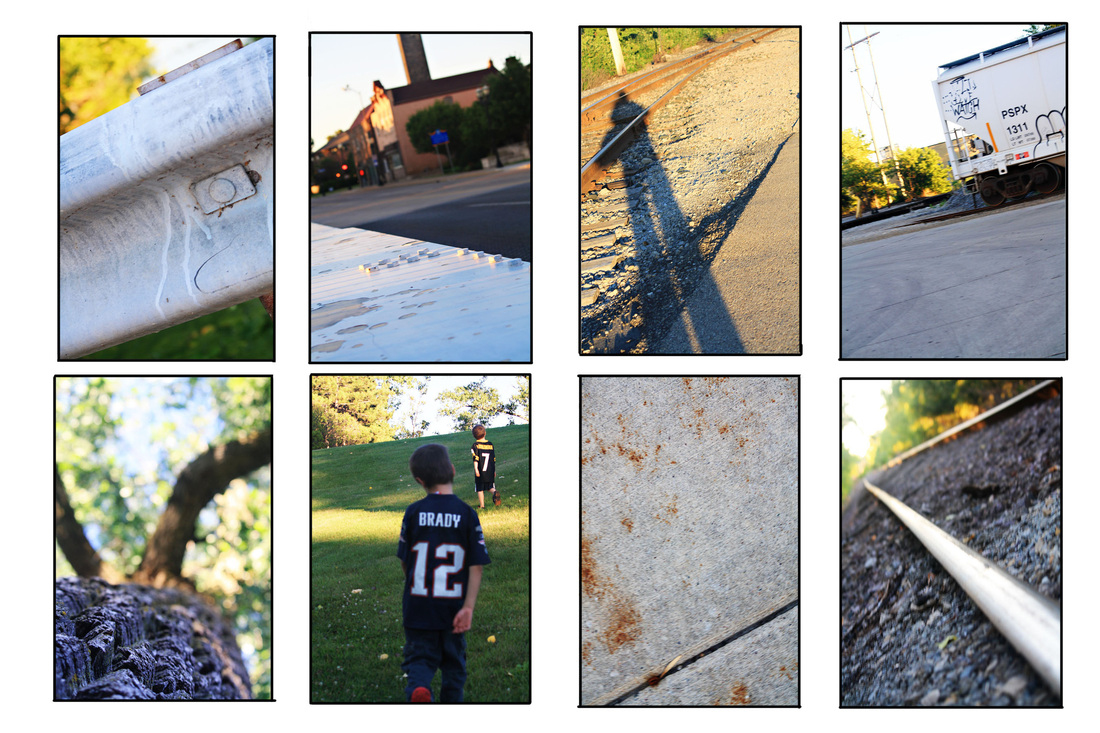
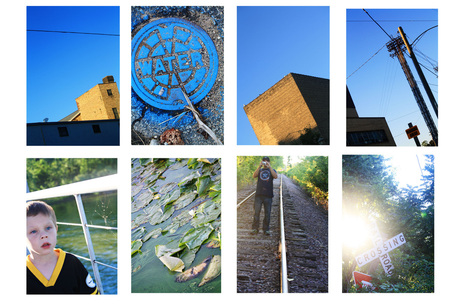
And here are some of Mr. Mustard Seed's shots: 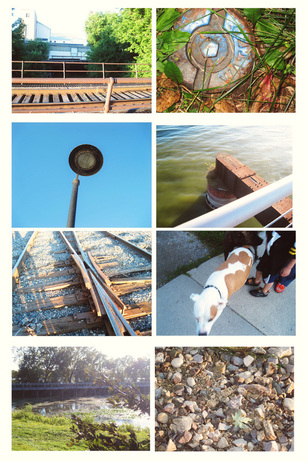
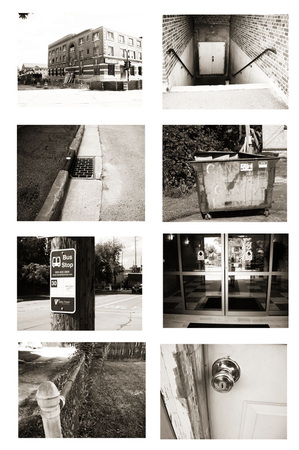
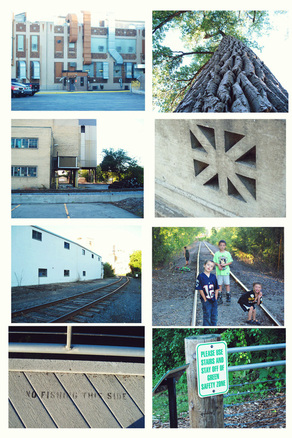
This was definitely challenging for me,
because I am always "planning" my shots. We decided to do this two days in a row. The 2nd day, we set the timer for 2 minutes instead of 5. This was really fun, and something we'll definitely do again in the future! |
Here you can find:*Thrifting adventures Categories |
||||||||||
 RSS Feed
